I have finished the "embellishments" on the top of this mini Pizzazz quilt. I've used shiny metallic thread to outline some of the prominent golden outlined elements, and beaded where I thought it would make the most impact. This is the part of the process that takes the longest amount of time.
This represents the beading I did in the center of the daisy mums. The size of the beads are 11/0 in a matte brown with some speckle.
This photo shows the beading I did to enhance the berries. I used a lighter color in the center and darker cranberry beads around the outer areas to create a three dimensional look. These beads are also 11/0 glass beads in a shiny-clear finish. The center beads are clear on the outside and colored pink on the inside.
This last photo represents some of the gold beading I did to follow the swirling on one of the coordinating fabrics in the piece. These are precision made Aico gold coated glass beads, size 11/0 in hexagon shape and a matte finish.
The next step is to sew the backing fabric to the top and begin "quilting" the two pieces together.
Thursday, November 18, 2010
Tuesday, November 16, 2010
Attracked to the Flame - Part III
Speaking of getting burned... This is the kiln. When I bring the temperature up to around 1,000 degrees F. to anneal my glass work, the outside of the kiln gets hot to the touch as well - especially the metal parts! However, these warm surface areas outside of the kiln become a very useful tool. (The white top you see does not get as hot.)
In the first picture, you can see some glass rods and "frit", along with some stringers up on top of the kiln. The reason they are there is to warm them prior to use. If you warm your rods before taking them to the flame for melting, it is less likely that they will crack or break. Broken rods can shoot hot glass across a room and if it lands on something that can be burned, it will leave a permanent scar - not to mention if it hits your face! (Although, typically it will shoot away from you - so be aware of what is lying in front of your working space.)
I use stainless steel items to place my rods in so that they don't roll around while on the the top of the kiln. The tip of the rod that I will be melting in the flame is placed on the kiln, while the other end (handle), is placed off of the kiln as far as possible without it falling off. This keeps the part of the rod you will be holding cool enough to handle without burning yourself when you pick it up. It also keeps the paper tag from burning, which I like to keep so I know what colors I have used up and need to reorder.
Contained in the colorful dishes on the top of the kiln in the second photo are what I call recyclable waste glass - in other words, mistakes! Many beads and marbles do not work out to my high standards of perfection. If that happens, I remelt the glass and use it for something else - usually marbles for my grandsons (I have plenty). It is always good to preheat these larger pieces of glass before trying to reintroduce them to the flame since they can crack, split, explode, break into a million pieces and fall onto your work table below (or your lap!), and the list goes on. So I warm them ahead of time on top, and if I'm going to actually introduce large pieces into the flame, they're actually placed inside of the kiln for a while.
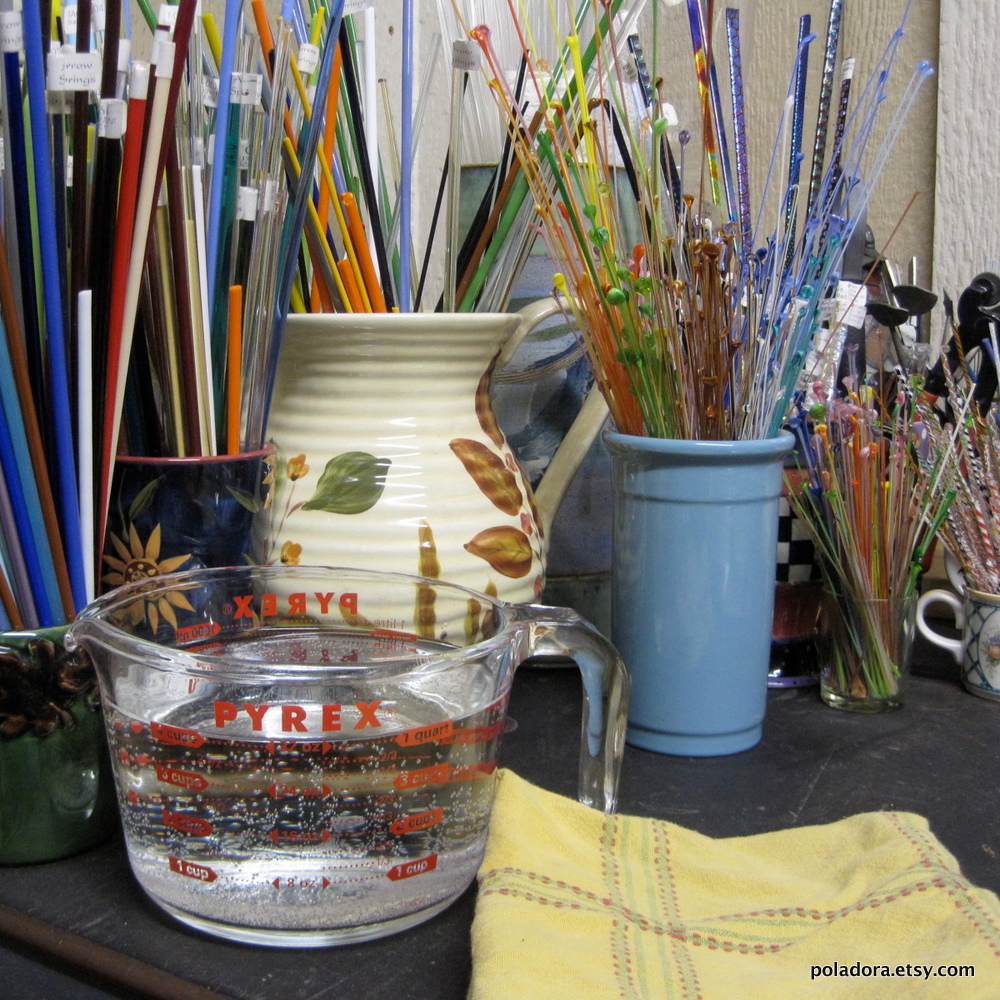
The tiny pieces of glass you see are called "frit". When pulling stringers (a subject for another day), they tend to spit off a tiny tip of the pull spot and leave it on the work space when you pick up the frit for sorting and storage. Depending on what the stringers were made for - some can be striped or swirled, or very colorful - these tiny tips can make for some very interesting color combinations (or "confetti") on top of an already formed bead as a last step. I like to use the inside of marble with a lot of clear in between so they seem to be floating inside.
I guess the bottom line here is to warm your raw materials as much as possible before carefully and slowly introducing them to the flame for melting. Things will go much smoother if you do.
In the first picture, you can see some glass rods and "frit", along with some stringers up on top of the kiln. The reason they are there is to warm them prior to use. If you warm your rods before taking them to the flame for melting, it is less likely that they will crack or break. Broken rods can shoot hot glass across a room and if it lands on something that can be burned, it will leave a permanent scar - not to mention if it hits your face! (Although, typically it will shoot away from you - so be aware of what is lying in front of your working space.)
I use stainless steel items to place my rods in so that they don't roll around while on the the top of the kiln. The tip of the rod that I will be melting in the flame is placed on the kiln, while the other end (handle), is placed off of the kiln as far as possible without it falling off. This keeps the part of the rod you will be holding cool enough to handle without burning yourself when you pick it up. It also keeps the paper tag from burning, which I like to keep so I know what colors I have used up and need to reorder.
The tiny pieces of glass you see are called "frit". When pulling stringers (a subject for another day), they tend to spit off a tiny tip of the pull spot and leave it on the work space when you pick up the frit for sorting and storage. Depending on what the stringers were made for - some can be striped or swirled, or very colorful - these tiny tips can make for some very interesting color combinations (or "confetti") on top of an already formed bead as a last step. I like to use the inside of marble with a lot of clear in between so they seem to be floating inside.
I guess the bottom line here is to warm your raw materials as much as possible before carefully and slowly introducing them to the flame for melting. Things will go much smoother if you do.
Sunday, November 14, 2010
Attracked to the Flame - Part II
One of the most important tools in my shop is in this photo - give up? It's the WATER! Yes, water. When working with a flame you will get burned. It's not a matter of "if", but rather "when"...
The water that I bring out fresh each time I go to work on my torch, is kept close at hand (hand being the key word here). The first place you want to stick your hand if you happen to burn yourself, is right into that water - and keep it there while the cool water draws out the heat of the burn. If you happen to drop a marble in your lap (done that), and your clothes burn, you can simply grab around the outside of the burnt hole and dunk it in the water.
The water serves other purposes as well. When working with tools such as pliers, tweezers, mashers, etc., you can dip the end of the tool in the water to cool it off so that it does not get so hot that the glass piece or the glass itself doesn't begin to stick to it. Even if it does, a quick dunk in the cool water and a bump on the bottom will release the glass that was stuck to the tool.
Another good use of the cool water is when you are making marbles and using steel punties (handles, instead of the "mandrels" used to make beads that need a hole in them). As soon as you remove one punty to switch to another to work on the opposite side of the marble, the hot punty goes right into the water. This way, you don't need to worry about placing it on some surface nearby that may burn - and the punty is now ready to be used again for the reverse side during your work if needed.
The towel you see next to the water is soaked with either water or window cleaner so that I can wipe off any new glass rod that I am about to heat up in the flame. While most dust and debris tends to simply burn off of the glass as you heat it, I prefer not dealing with that process - especially when working with clear, which has its own set of problems in terms of keeping it clear throughout the process for a sparkling clear end product.
Saturday, November 13, 2010
Attracked to the Flame...
...does that make me a bug? No wait - I already asked that question. I should keep quiet before someone actually answers it!
I thought some of you may find it interesting to get a little peek into Poladora's Lampwork Shop. There's so much to show and tell that I'm going to make it a multi-part series. ("Oh No - she's going to do the same thing she did to us with 'Verna'!!") Don't worry - Verna is alive and well sitting on my dining room table (no place in my home is safe from my projects). Oh, wait, my lampwork shop is in an outside garage/shop that I share a corner of with my hubby. There are NO torches, kilns, or Oxygen or LP fuel tanks in the house - thought I'd better clarify that.
Above, you can see my torch, my desk, and a few supplies and tools. You can also see my prescription safety glasses for lampwork. These enable me to look at my work in the flame. Without them, I could do serious damage to my eyes and, I would not be able to see my work when it is in the flame. Mine have a magnification because I'm old...
This is a picture of my kiln. It can open from the top or from the front - see the little trap door? I open the front door to place newly made beads and marbles into the kiln for annealing without opening the top and releasing all of the heat in a whoosh.
As you can see, the top also makes a nifty little "warming pad" to warm glass prior to using it in the flame (so that it doesn't explode!) This will be a discussion for another day - along with other useful safety tips...
Oh - the warm top of the kiln also makes an excellent spot for your cup of tea!
Wednesday, November 10, 2010
Can You Describe this Face?...
...I can! It's one of my grandson's expressions and difficult to describe other than WOW! BTW, he's really a very good looking boy.
Yes, we continue to be a parent's worst nightmare...in this case, a Grandpa who makes go-carts for the grandkids. Notice, No seat belts, NO helmets, NO pads... somehow, they both survived the ride around our HUGE circle driveway on the flat.
Ready...


Gee, who do you think is holding on tighter - Grandpa or our grandson?... and is that our grandson's little foot pressing on Grandpa's foot even harder than Grandpa wants to go? Naw! (See, I told you they were both very good looking!)
Yes, we continue to be a parent's worst nightmare...in this case, a Grandpa who makes go-carts for the grandkids. Notice, No seat belts, NO helmets, NO pads... somehow, they both survived the ride around our HUGE circle driveway on the flat.
Ready...
Set...
(I guess Grandpa didn't want his picture taken. BTW, he's quite handsome too.)
GO!...
Gee, who do you think is holding on tighter - Grandpa or our grandson?... and is that our grandson's little foot pressing on Grandpa's foot even harder than Grandpa wants to go? Naw! (See, I told you they were both very good looking!)
Saturday, November 6, 2010
The Search for "Verna"...
Here are just some of the pieces of fabric and batting needed to complete this Verna Totse project for my boutique Poladora...
Not included are interfacing, elastic, and elastic fabric covering, which have not been cut yet, thread choice (which I hate since it means I have to wind a bobbin - why is winding bobbins such a dreaded task when it is actually such an easy one?!?), and choice of button. (I always choose the button last because I want something that goes with the overall personality of the Totse and that's hard to do until it's partially finished.)
Thursday, November 4, 2010
Golden Harvest Under Construction...
I spent all day sewing all of the different squares and pieces together to create this finished top (by "finished", I mean it's all sewn together now, whereas in the previous post they were just pieces sitting separately on my design board so I could decide where I wanted each piece to be).
Then, I pinned my mini Pizzazz top to a piece of Warm and Natural all cotton quilt batting (so the fabric would stay smooth while I stitched it to the batting), and then machine stitched all around the piece with a ziz-zag stitch (very tiny), to prevent fraying of the material top while I progressed with my process. I also ran a bead of Fray Check along the zig-zag to further secure the fabric from fraying.

I like to leave a little bit of batting all around the edge for my next step. I will trim it later.
Next step - on to the hand-embroidery of focal features within the focal fabric, using a special gold metallic embroidery thread (Madeira), to match the gold outlining of the print. I'll also do some gold beading in specific areas of the overall piece to make my "Golden Harvest" mini Pizzazz quilt more interesting and unique.

The hand-embroidery and beading will take the longest time in the process - so stay tuned!
Then, I pinned my mini Pizzazz top to a piece of Warm and Natural all cotton quilt batting (so the fabric would stay smooth while I stitched it to the batting), and then machine stitched all around the piece with a ziz-zag stitch (very tiny), to prevent fraying of the material top while I progressed with my process. I also ran a bead of Fray Check along the zig-zag to further secure the fabric from fraying.
I like to leave a little bit of batting all around the edge for my next step. I will trim it later.
Next step - on to the hand-embroidery of focal features within the focal fabric, using a special gold metallic embroidery thread (Madeira), to match the gold outlining of the print. I'll also do some gold beading in specific areas of the overall piece to make my "Golden Harvest" mini Pizzazz quilt more interesting and unique.
The hand-embroidery and beading will take the longest time in the process - so stay tuned!
Subscribe to:
Posts (Atom)